
How to Get a Human-Readable Starknet ID for All Your On-Chain Activity
This guide walks you through setting up a single, memorable name for all your activity on Starknet. You'll be able to replace that long string of characters with a simple name that works on every dApp, making your life a lot easier.
What You'll Need
Before you begin, make sure you have:
- An active Starknet wallet
- A connection to the Starknet mainnet
- A basic understanding of how blockchain transactions work
Step 1: Mint Your Free Starknet ID
First, head over to the official Starknet ID website to mint your identity NFT for free.
- Connect your wallet at https://starknet.id
- Click "Mint Identity"
- Confirm the transaction in your wallet
- Wait for the transaction to be confirmed on the network
Check your work: You should now see a Starknet ID NFT in your wallet. Think of it as your on-chain passport.
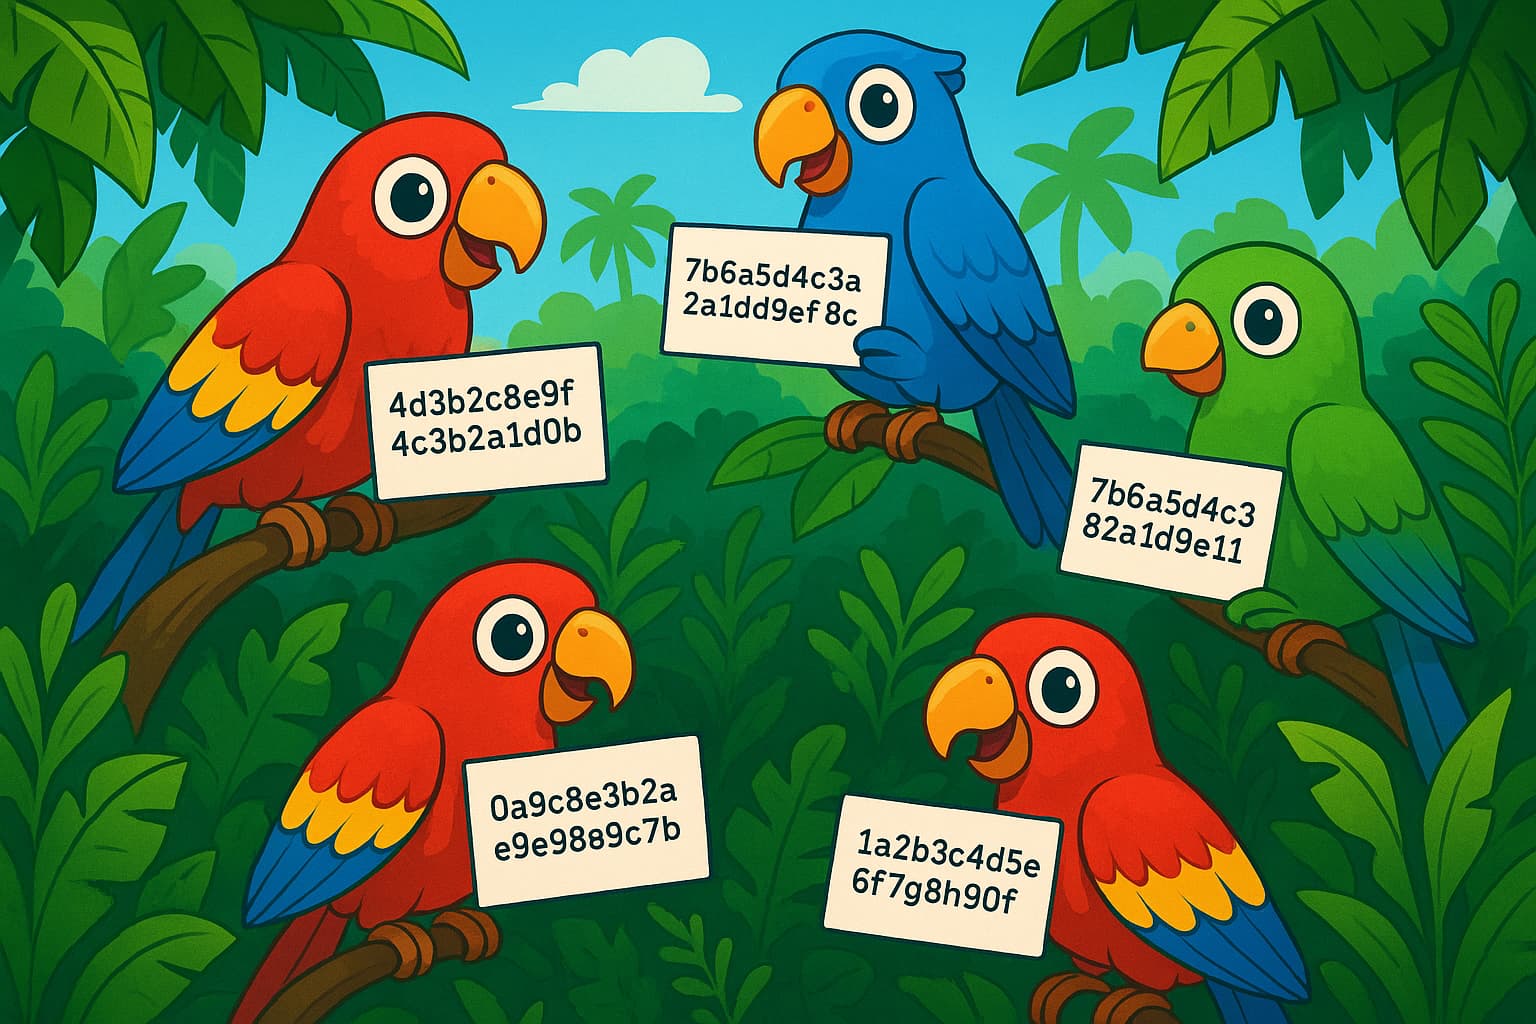
 A Starknet ID turns a complex address into a simple, memorable name.
Step 2: Get Your .stark Name
Now it's time to swap that long hexadecimal address for an easy-to-read name.
- Search for an available .stark name on the platform.
- Pick a name you like that represents you.
- Follow the steps to register it.
- Link the new name to your Starknet ID NFT.
Pro-tip: To ensure your name works well everywhere, try to keep it under 15 characters.
Step 3: Make Sure Your Name Works Everywhere
Let's enable your new name to be recognized automatically by apps on Starknet.
- Check that your .stark name points to your wallet's address.
- Try using your name in a couple of different Starknet dApps.
- Confirm that apps that normally take a Starknet address also recognize your new name.
Good to know: Any tool that works with Starknet addresses is already set up to recognize your Starknet ID.
 The difference between a long, complicated address and a simple, human-readable name.
Step 4: Set Up Your Universal Profile
You can also control how your information is shared with dApps across the network.
- Go to your profile settings to manage permissions for dApps.
- Decide what information each app can access from your profile.
- Test it out on a few different applications to see how it works.
Check your work: dApps should now be able to see the profile data you've allowed through your Starknet ID.
Step 5: Prevent Costly Mistakes
Using your new, simple name is a great way to avoid sending funds to the wrong address.
- Go through your contacts and replace any saved hexadecimal addresses with your new .stark name.
- Update the address books in your wallets and other apps.
- From now on, use your human-readable name for all transactions.
One last thing: Always double-check the spelling of a name before you confirm a transaction. It's an easy way to prevent errors.
What's Next?
Your new on-chain identity is ready to go. Use your Starknet ID to prove who you are on-chain and start taking advantage of a single profile that works everywhere.
This system not only simplifies managing your address but also taps into the powerful account abstraction features built right into Starknet.